Welcome
Welcome to Narada Asia Pacific website, a fully owned subsidiary of Zheijang Narada Power Source Co., Ltd. Narada, established in 1994, is stock listed and headquartered in Hangzhou, China. Narada is a manufacturer of various types of batteries and power systems for Stationary and Motive power. Our key focus is in - Telecom, Energy Storage, Data Centre, Hybrid and Electric Vehicles. Use the inquiry page to reach us for technical clarifications, pricing, demo and trainings.
Telecom
Narada manufactures high quality batteries for telecom power backup systems. Our products have various certifications, are field proven in Telecom operators and Tower companies worldwide.
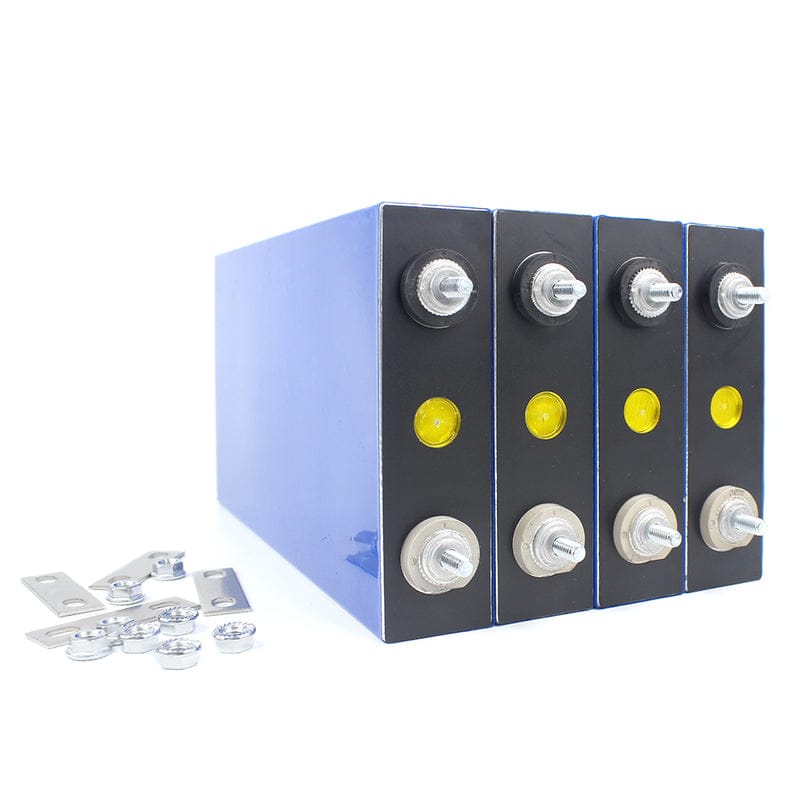
Our products for telecom includes OPzV batteries, VRLA/AGM batteries and Lithium batteries. Our NPFC lithium battery series, REXC lead carbon battery series and HTB high temperature battery series are installed in many top tier telecom networks.

Energy Storage
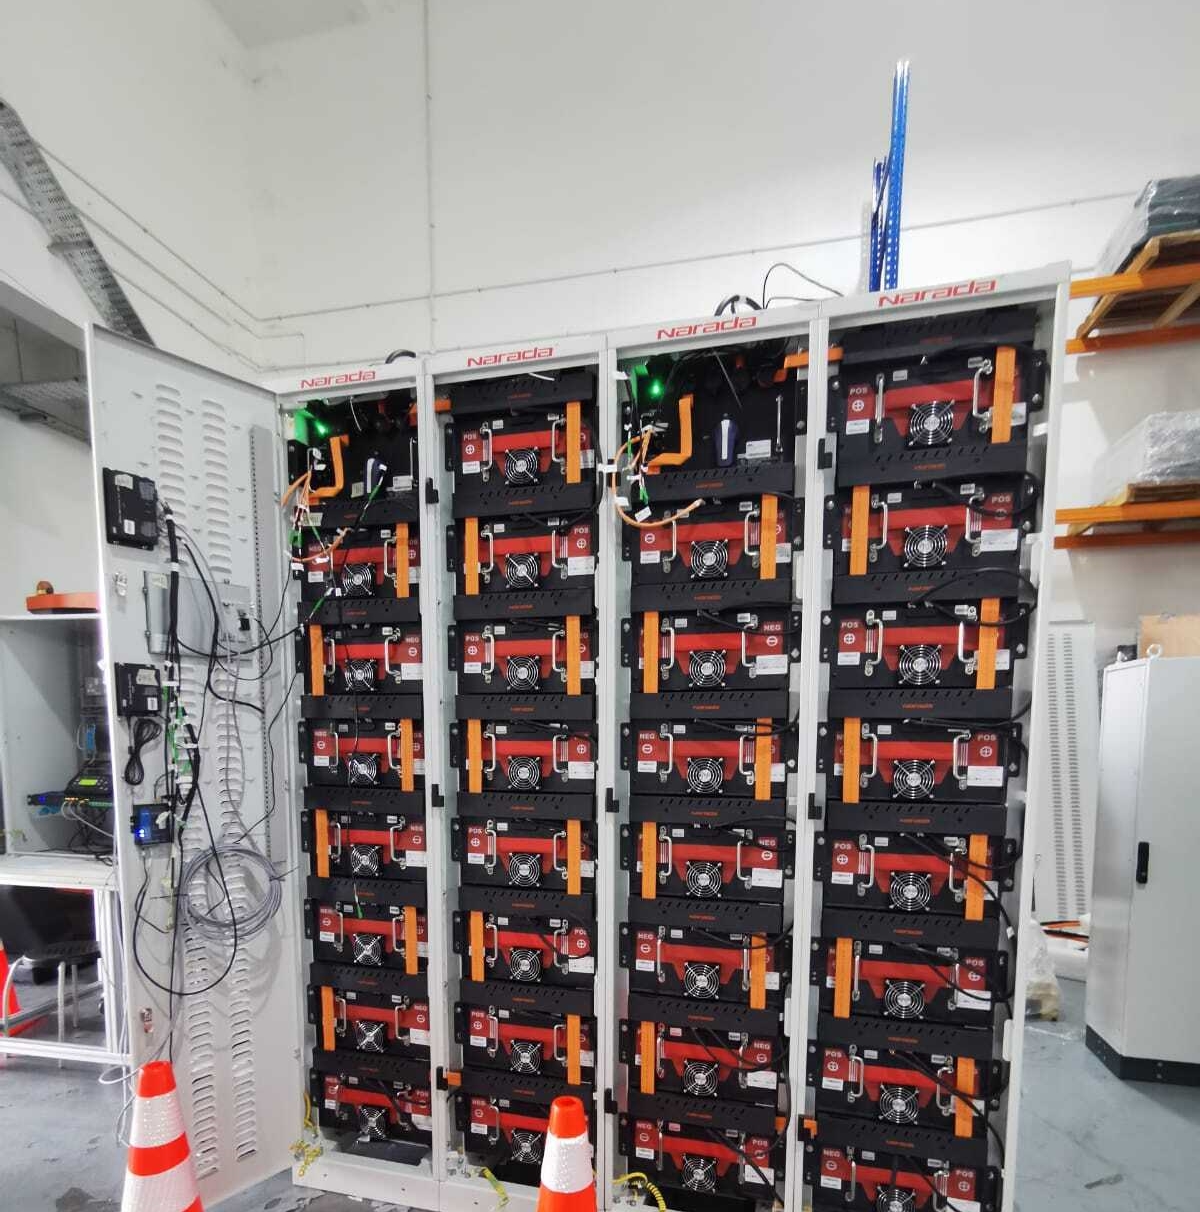
“Narada has been providing ESS solution for more than a decade and is rated among top tier ESS providers in the world. We have an installed base of more than 2.5GWh ESS worldwide. Our ESS products include customizable DC racks, ESS containers of various types, outdoor ESS cabinets and liquid-cooled ESS solutions.
我们谈论我们的足迹不断增加的ESS in Asia, North & South America, Europe, Middle East and Africa. Our ESS supplied include clients from the residential, commercial, industrial and utility industries. We also offer hands-on ESS Training Program from Narada Asia Pacific office in Singapore. Please use the inquiry page or phone to reach us.

Data Center
Narada manufactures lead acid and Lithium batteries that are purposebuilt for functioning well with UPS systems for high rate energy discharge and long design life. We work with well know UPS brand partners and local System integrators, to provide one-stop solution for backup power for data centres. Look for our HRL series and NPFC series batteries for this market segment of UPS applications in Data centre, airports and other mission critical applications.

Motive Power
Narada manufactures high quality Lithium batteries and hybrid car batteries. Our product range have Lithium batteries for 2-wheel/3-wheel Electric vehicles. We also can provide customized battery packs or cells or cell packs for EVs such as electric cars, buses, trucks, buggies and yachts etc.

We make alternative energy extremely affordable.
Why choose us?
Narada Differentiators
Request a Demo
If you want to know more or if you have questions, please don’t hesitate to contact us.
NOTE : we only respond to inquiries coming from company emails. No personal emails will be replied


